1

How to change your Domain DNS settings in WordPress.com to use the redIT Servers

If you have a domain name registered with WordPress.com because you used to have your website hosted with WordPress.com and are now moving to a WordPress.org site you will need to update your Domain DNS records within the WordPress.com system to use the redIT servers.

NOTE: If you are planning to migrate your domain to redIT we would still recommend that you update your DNS settings with WordPress.com first to allow for a seamless migration.

The first step in changing the DNS settings for your domain hosted with WordPress.com is to access your WordPress.com account at https://www.wordpress.com/log-in
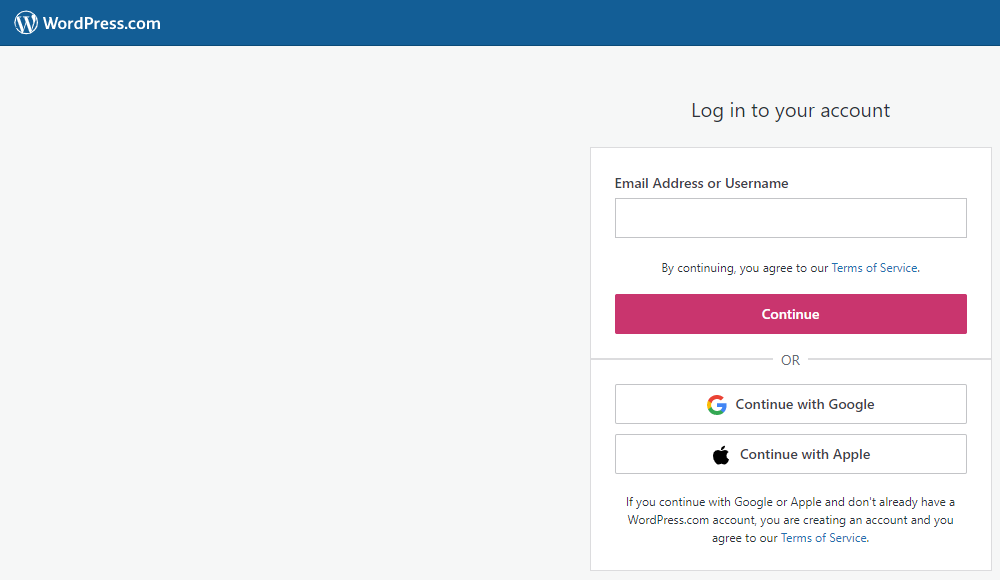
Once you are logged into your WordPress.com account click on the ‘My Site’ button in the top left corner of the dashboard page.
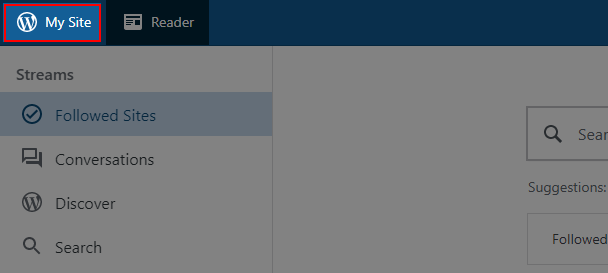
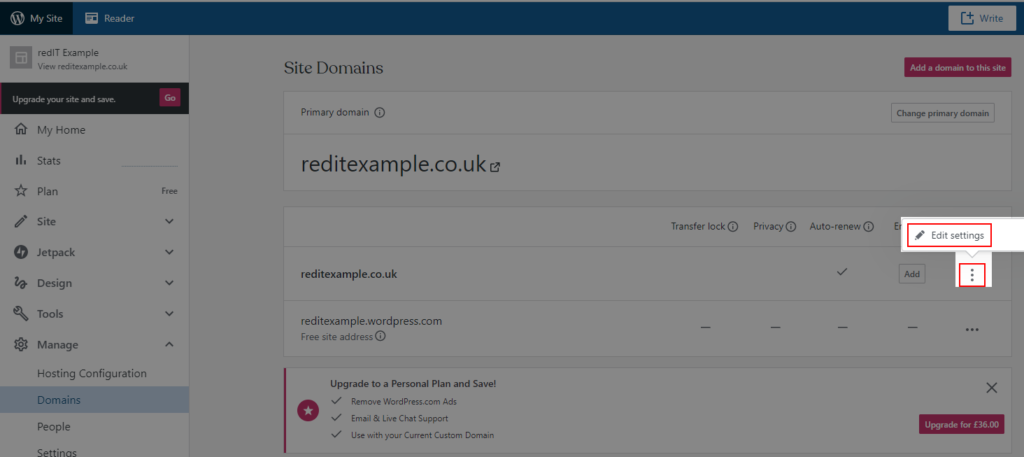
Once the ‘My Site’ menu has loaded click on the ‘Manage’ menu heading and then on the ‘Domains’ menu item.

From within the ‘Site Domains’ page, you should be able to find the domain name for your website that you are looking to update the DNS settings for. At the right of the domain row are three dots click on this and from the menu that opens click on ‘Edit Settings’.
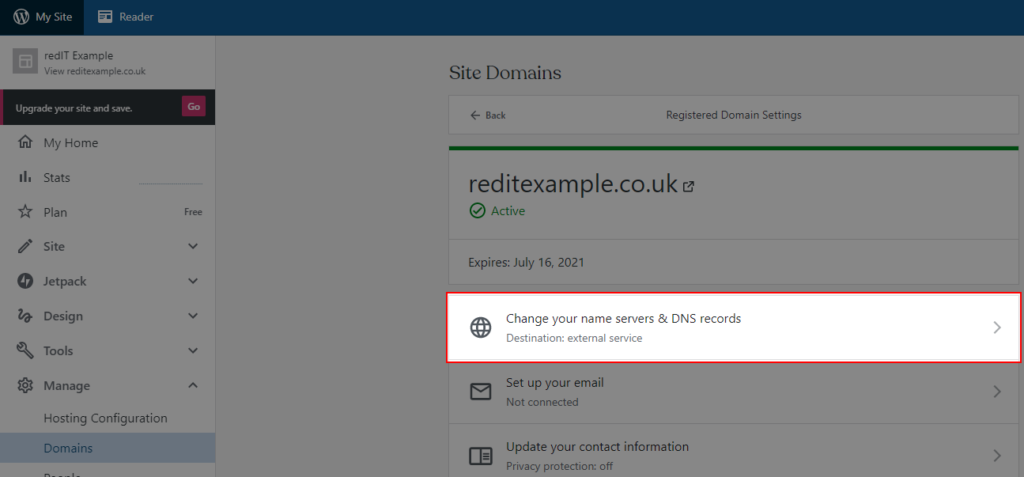
You should now click on the ‘Change your name servers & DNS records’ button from within the middle of the page.
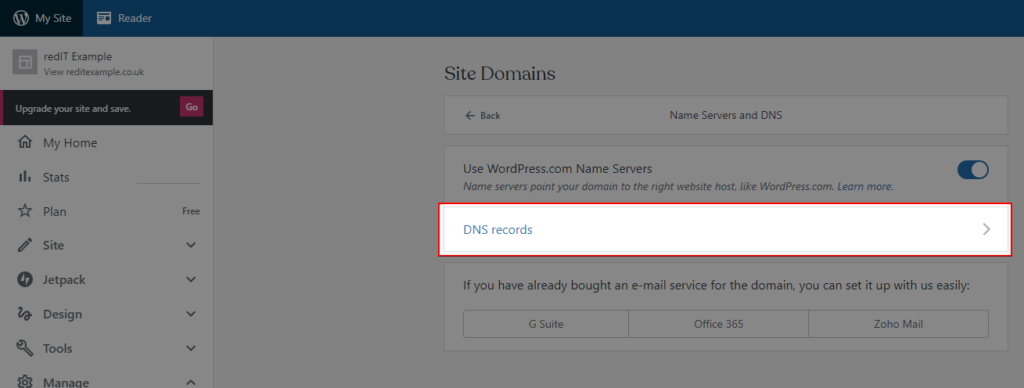
At this stage we are only looking to update the DNS Records for your website so that your WordPress.org version now loads for your visitors. So on the next screen click on the ‘DNS Records’ option.
On the ‘DNS Records’ page, you will need for find any records that are either of the type ‘A’ or ‘CNAME’ that can be deleted.
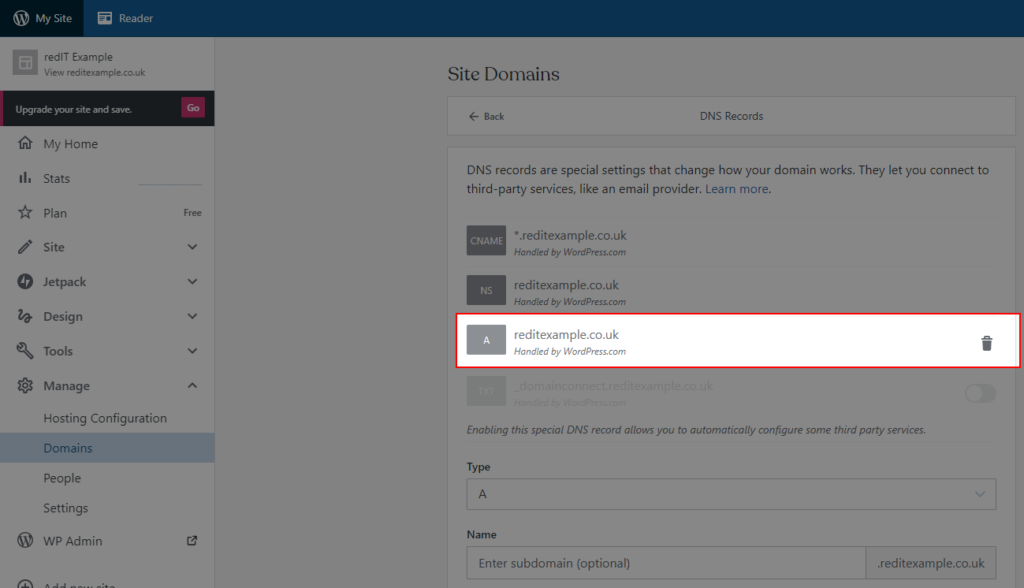
This is done by clicking on the ‘Bin’ icon at the end of the record that you wish to remove.

You will now need to add the new DNS Records into the bottom section of the page to replace the records that have just been removed.
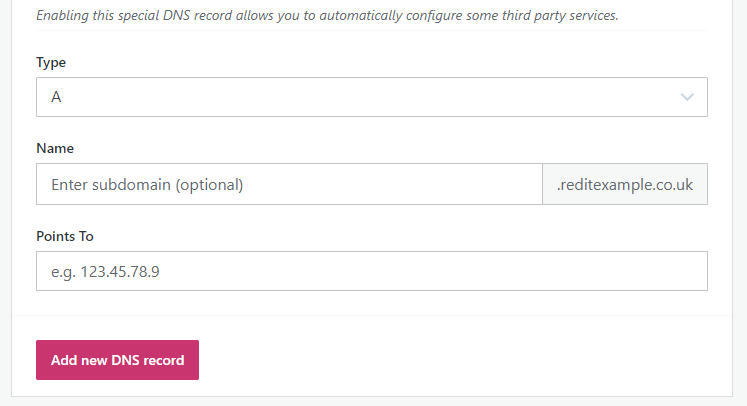
The rules that you will need to add are:

Type Name Points To
A @ The IPv4 Address of your redIT Shared Hosting Web Server
A www The IPv4 Address of your redIT Shared Hosting Web Server
AAAA @ The IPv6 Address of your redIT Shared Hosting Web Server
AAAA www The IPv6 Address of your redIT Shared Hosting Web Server

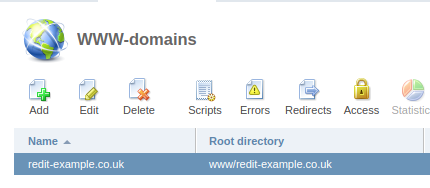
To get the IPv4 and IPv6 addresses you will need to log into the redIT Shared Hosting portal (FAQ Link) and from the left hand menu under the ‘WWW’ menu item click on ‘WWW-domains’
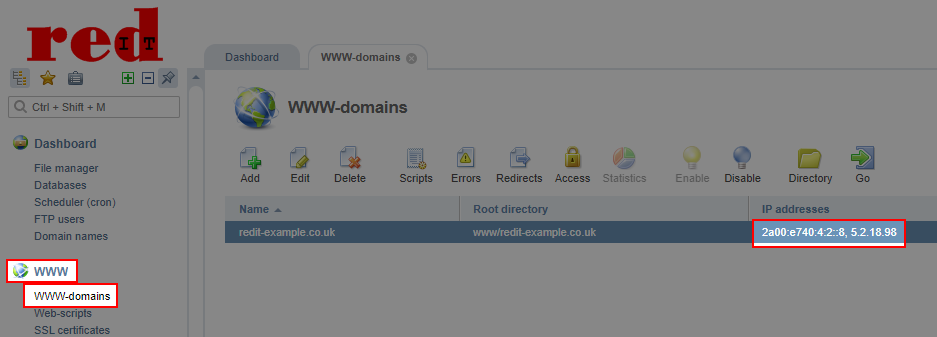
The IPv4 and IPv6 (if enabled) are split by a ‘,’ and the IPv4 address will be all numbers whereas the IPv6 address will be a mix of numbers and lower case letters.

Once you have made these changes to your records via the WordPress.com system you will need to wait for them to be updated globally. You can check these changes via the following site:
https://www.whatsmydns.net/


How do I change the PHP version of my Website?

Once you are logged into your redIT Hosting Control Panel from the left hand menu bar expand the “WWW” section and click on the ‘WWW-domains‘ item.

From the ‘WWW-domains‘ page select the website that you wish to change the PHP version for and click on the ‘Edit‘ button from the top menu.

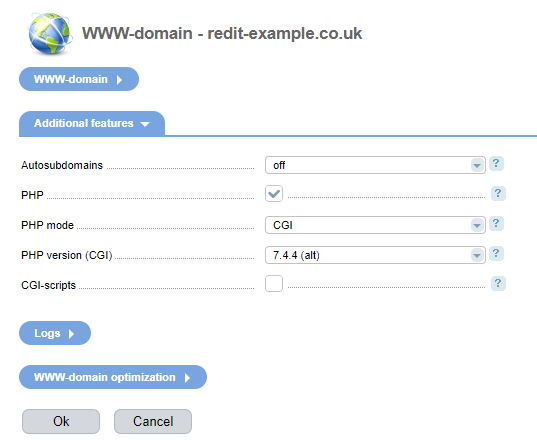
Within the domain edit screen you should be able to locate the ‘Additional features‘ section (you can collapse or expand each of the sections by clicking on the section heading).

Under the ‘PHP version (CGI)‘ option you will be able to select the currently available versions of PHP. Once this has been selected click on the ‘Ok‘ button you should now be returned to the ‘WWW-domains‘ page.

Please note: the change of PHP version is not instant and may take a moment to complete fully.


How do I add an SSL Certificate to my Shared Hosting eMail Domain?

This guide assumes that you are using a free Lets Encrypt SSL Certificate which can be set up by following our guide at https://faq.redit.co.uk/knowledge-base/how-to-enable-lets-encrypt-ssl-certificates-on-redit-shared-hosting-accounts/ or you have already installed either a Wild Card SSL Certificate or an SSL Certificate that matches your eMail domain address.

To enable SSL on your eMail accounts you will need to logged into your redIT Hosting account which you can do by following the guide at https://faq.redit.co.uk/knowledge-base/logging-into-your-redit-hosting-account/

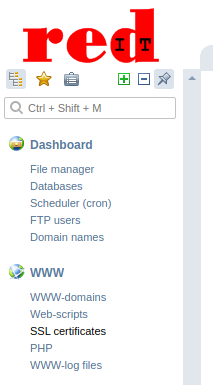
Once you are logged into your redIT Hosting Control Panel from the left hand menu bar expand the “WWW” section and click on the ‘SSL Certificates‘ item.

In the main panel you should now see the ‘SSL Certificates’ page which will list any current SSL Certificates, make a note of the ‘SSL Certificate Name

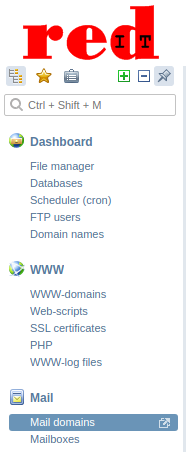
From the left hand menu now select ‘Mail Domains

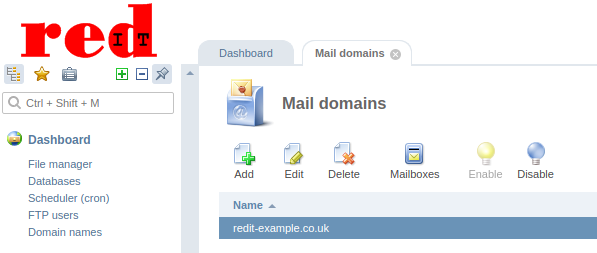
Left click on the domain that you wish to add the SSL Certificate too in the main screen and click on the ‘Edit‘ button from the top bar option.

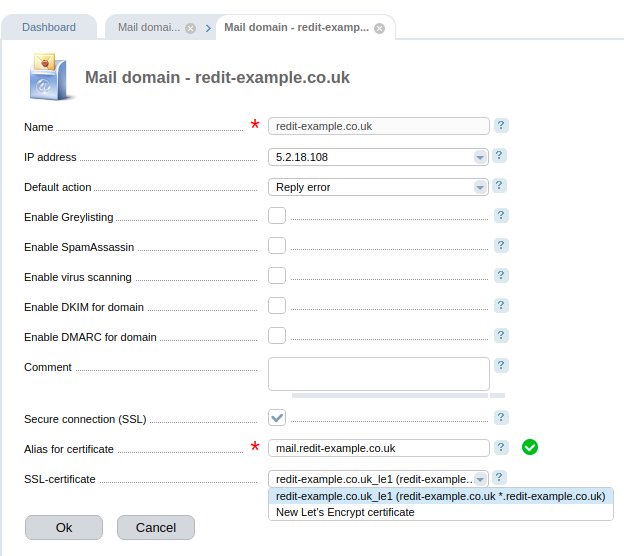
On the last page ensure that there is a tick in the ‘Secure connection (SSL)‘ box. If there is not already the ‘Alias for certificate‘ and ‘SSL-certificate‘ options will now appear.

The ‘Alias for certificate‘ should be the address that you enter into your eMail client to collect your eMail via which is normally your domain name with ‘mail.‘ infront of it so for our example here it is ‘mail.redit-example.co.uk’

The ‘SSL-certificate‘ option will only allow you to select existing SSL Certificates that are installed or imported into the Shared Hosting Control panel select the SSL Certificate that has the name that you made a note of before.

Finally click on the ‘OK’ button, your eMail domain is now enabled with your installed SSL Certificate.


How to enable Lets Encrypt SSL Certificates on redIT Shared Hosting accounts.

All of our redIT Shared Web Hosting accounts have the ability to enable SSL Certificates.

If you wish to use the Free Lets Encrypt SSL Certificates this guide will show you how to enable and obtain a new Lets Encrypt SSL Certificate, which will then be automatically renewed for you by the our hosting platform for you.

This guide also assumes that you are hosting your Domain Name DNS Service with us.

To request and issue a Lets Encrypt SSL Certificate for your Shared Hosting Domain with us at redIT you will need to be logged into your redIT Hosting account which you can do by following the guide at https://faq.redit.co.uk/knowledge-base/logging-into-your-redit-hosting-account/

If you have a Certificate Authority Authorization record in your DNS Zone file you will also need to ensure that you update the record to either include the Lets Encrypt Certificate or replace your existing records. More details on this can be found in our article on CAA at https://faq.redit.co.uk/knowledge-base/how-to-add-a-certificate-authority-authorization-caa-dns-record/

Once you are logged into your redIT Hosting Control Panel from the left hand menu bar expand the “WWW” section and click on the ‘SSL Certificates‘ item.

In the main panel you should now see the ‘SSL Certificates’ page which will list any current SSL Certificates

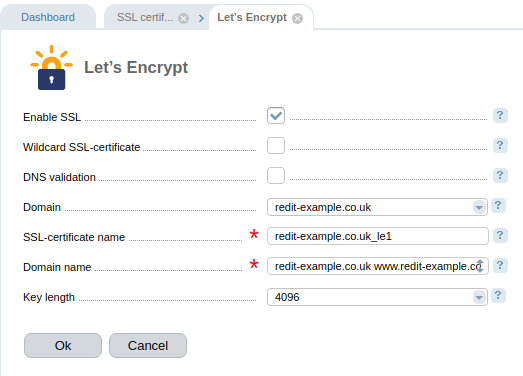
To add a new Lets Encrypt SSL Certificate click on the ‘Lets Encrypt’ icon from the top bar. This will then take you to the SSL Certificate creation wizard.

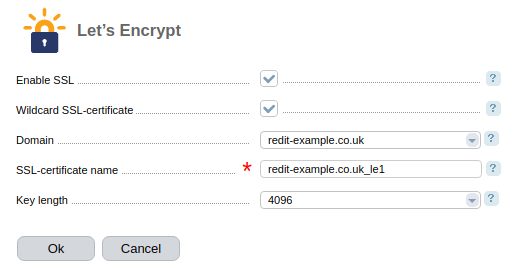
We recommend that you click on ‘Wildcard SSL-Certificate‘ as this will then allow you to use the one single SSL Certificate for both your website and your eMail service. This will change the displayed wizard to the following.

If you have more than one domain in your account you can select the domain that you are requesting the certificate for under the ‘Domain’ drop down option.

You can also change the Key length but 4096 is the recommended key length.

You can now click on the ‘OK‘ button to continue with the request.

You will now be returned to the ‘SSL Certificates’ page where you will be able to see the status of your SSL Certificate request.

The control panel will automatically do all the work for you if your Domain Name DNS zone file is also hosted with us at redIT and depending on the work load of the Lets Encrypt system you should soon see that your SSL Certificate is issued.

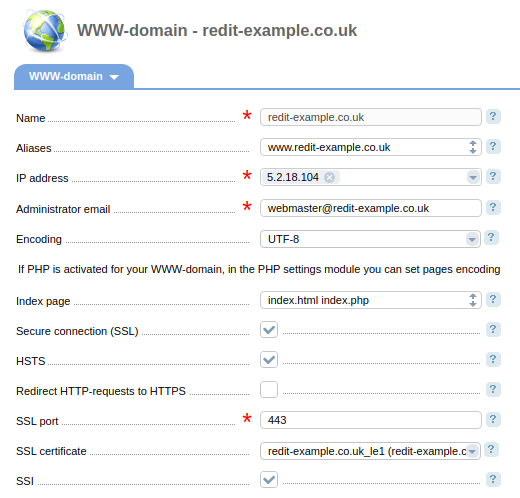
You should now ensure that your SSL Certificate is in use for your web site and mail service. From the left hand menu under the ‘WWW‘ menu select ‘WWW-domains‘ and then on the main panel click on the domain name that you just requested the SSL Certificate for:

Now click on the ‘Edit‘ button from the top options.

You should see that there is a tick mark in ‘Secure connection (SSL)‘ and that the ‘SSL certificate‘ matches the name of the SSL Certificate that was issued before, if this is not the case click on the check box and select the SSL Certificate from the drop down options list and click on the ‘OK’ button.


Logging into your redIT Hosting Account

There are two ways that you can access your redIT Web Hosting or DNS Hosting Account.
This guide will show you both options.

-via the redIT Web Site
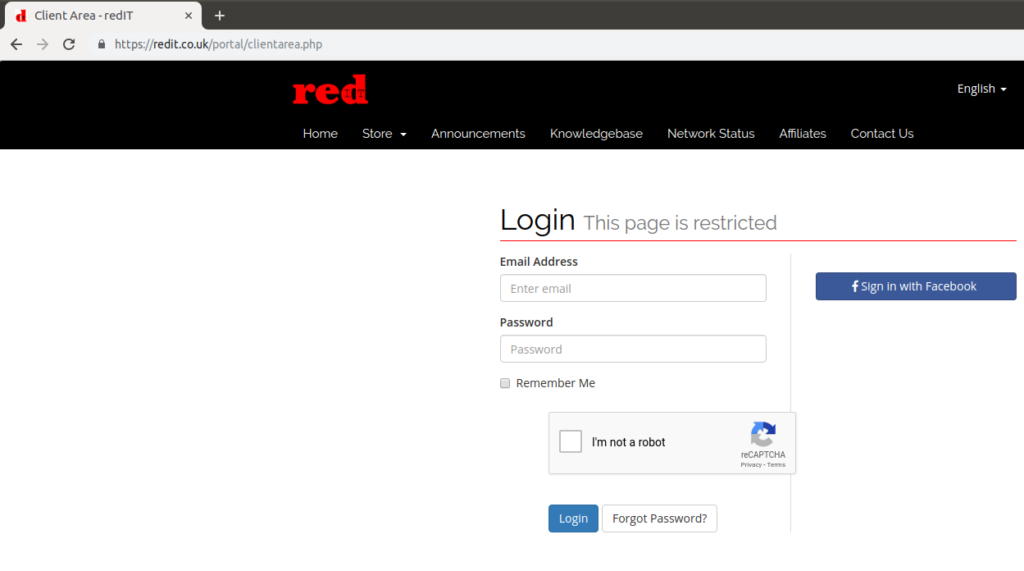
Visit https://portal.redit.co.uk/ in your normal web browser (we are using Google Chrome in this article) and enter your registered details to be taken to your redIT Account.

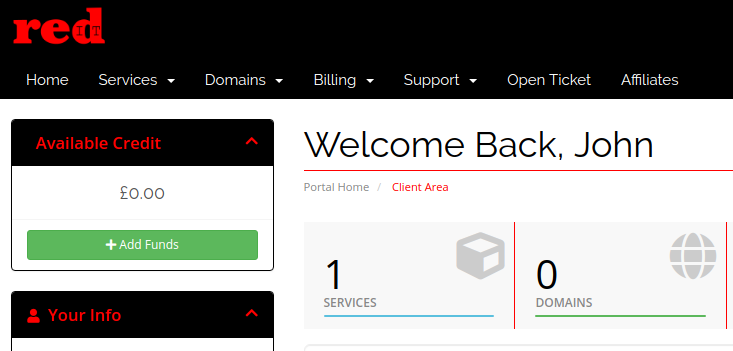
Next you need to click on the Services box on the main dashboard.

To access your Hosting Account login click on the ‘Login to Control Panel’ button. Your username is also shown for your reference.

-via the redIT Web Hosting Control Panel
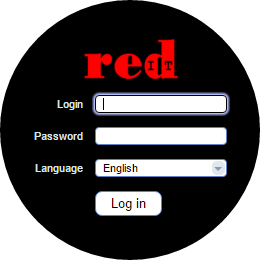
Visit https://cp.redit.co.uk/in your normal web browser:

Enter the details that you have been sent in your Welcome eMail
.


How do I use phpmyadmin with my database

All of our Shared Linux Web Hosting packages include the use of a mySQL database server.
If you are using an install script the chance of you needing to see the actual data that is stored within this database is small. However, if you should wish to view or alter the information that is stored within your mySQL database there is a web based tool called phpmyadmin which can be used and can be accessed via https://phpmyadmin.redit.co.uk/
First however, you will need to allow the redIT mysqladmin server access to your database. This guide will show you how this is to be done.
This guide also assumes that you already have a database created within the redIT Shared Hosting platform.

Step 1.
If you are not already logged into your redIT Hosting account you will need to do so via https://cp.redit.co.uk/
Step 2.
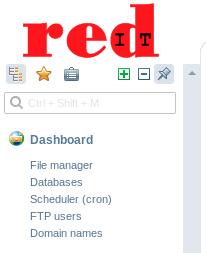
From the left hand menu within the Hosting Control Panel select the ‘Databases’ option

Step 3.
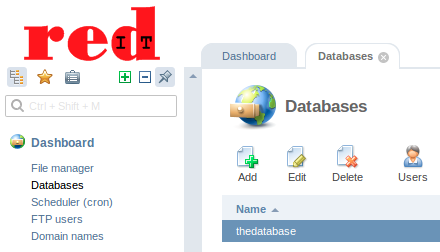
If you have more than one database find the database that you wish to allow access to otherwise select your database so that it is highlighted and then click on the ‘Users’ button.

Step 4.
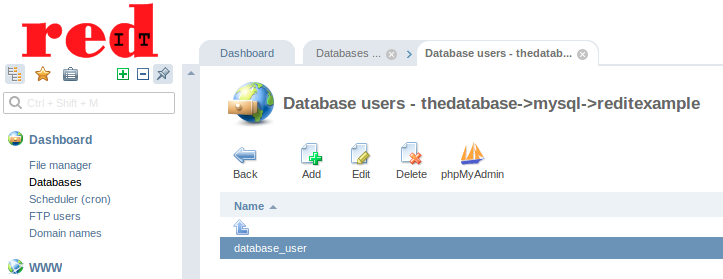
On the following screen locate the user that you wish to grant access to using the phpmyadmin site and click on the ‘Edit’ button.

Step 5.
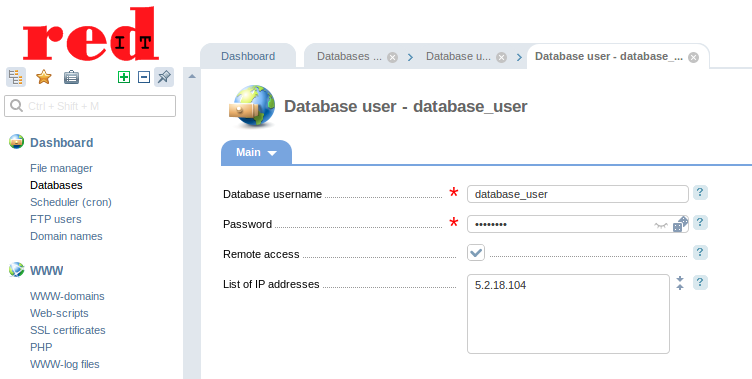
Within the Database User edit screen enter ‘redit.co.uk’ into the ‘List of IP addresses’ box. This box should already have the IP Address of the web server that your website is hosted on. Then click the ‘OK’ button at the bottom of the page

Step 6.
Try to login via https://phpmyadmin.redit.co.uk/ using your database username and password.

If you have any problems after you have completed these steps please contact our support team and we will be happy to help.


How Do I Upgrade/Downgrade my Hosting Service

Every redIT Hosting Package can be upgraded or downgraded via the redIT Customer Portal, you will either be credited the difference into your redIT Account on a downgrade or a new invoice will be raised for the difference on upgrading your account.

To either upgrade or downgrade your Hosting Package please follow these steps.

Visit https://portal.redit.co.uk/ in your normal web browser (we are using Google Chrome in this article) and enter your registered account details:

Once you are logged in click on the ‘Services’ icon

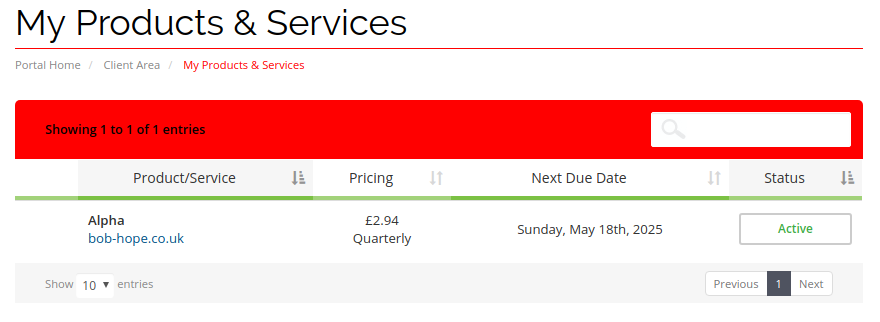
You should now see a list of your services:

Click on the service that you would like to upgrade or downgrade:

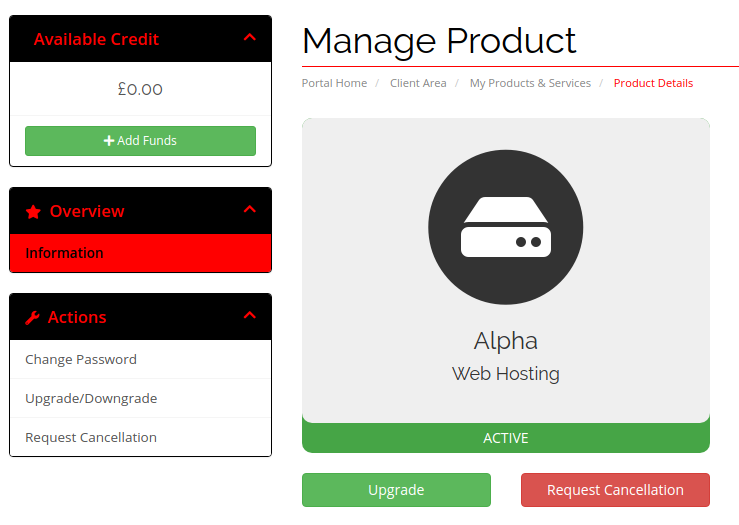
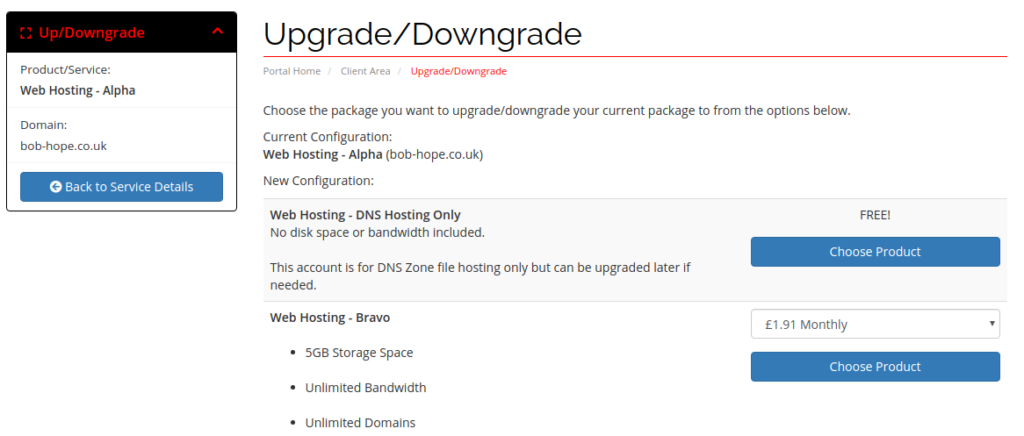
To upgrade or downgrade the selected package click on the ‘Upgrade’ button:

Full details of your available packages are shown along with the recuring price which you can select the duration that you require. Then click on the ‘Choose Product’ button:

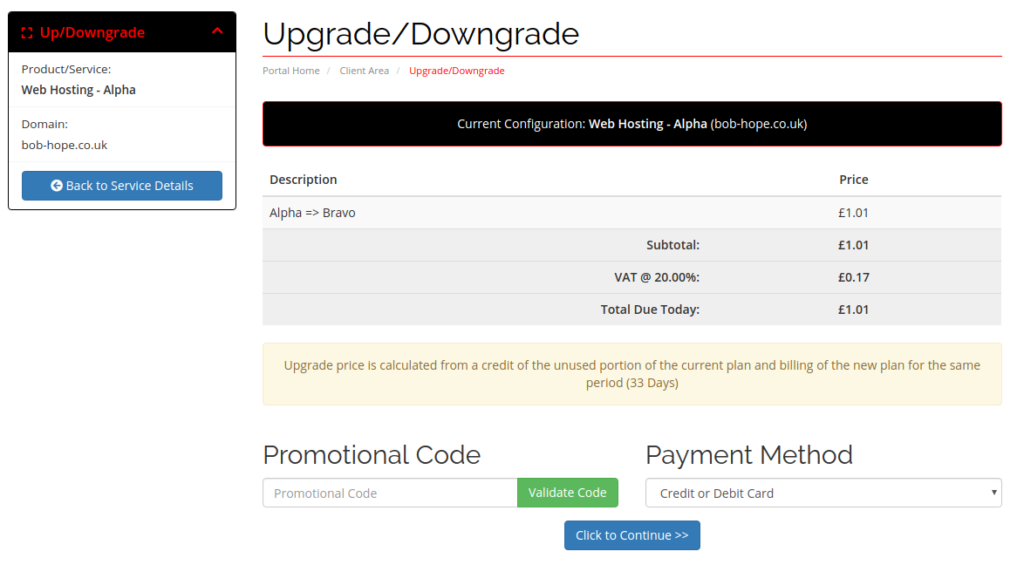
You will then either be redirected to the correct Payment Method or a credit will be issued to your redIT Account and your service will be upgrade or downgrade as requested.

If you have any problems with this process please contact our support team who will be more than happy to help.


How Do I Change My Web Hosting Account Password

When your redIT Web Hosting Account is first create a strong random password is created by the system for you automatically.

If you wish to change this you can do this by following this guide.

Visit https://portal.redit.co.uk/ in your normal web browser (we are using Google Chrome in this article) and enter your registered details to be taken to your redIT Account.

Once you are logged in click on the ‘Services’ icon

You should now see a list of your services:

Click on the Web Hosting Account that you wish to change the password for:

On the left hand side of the page under the ‘Actions’ section click on the ‘Change Password’ option:

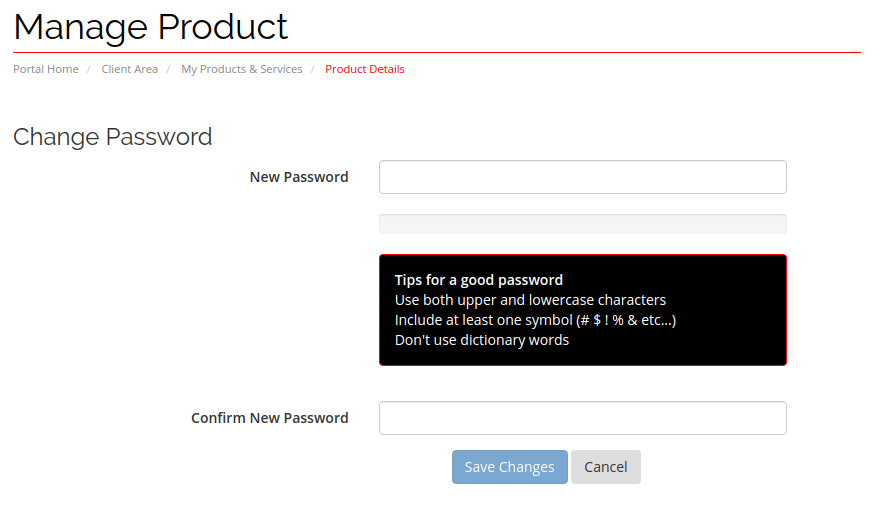
You can now enter your new password and confirm it. Please note your new password MUST include at lease one number, and one upper case and lowercase characters.