
How Can We Help?
How do I add an SSL Certificate to my Shared Hosting eMail Domain?


This guide assumes that you are using a free Lets Encrypt SSL Certificate which can be set up by following our guide at https://faq.redit.co.uk/knowledge-base/how-to-enable-lets-encrypt-ssl-certificates-on-redit-shared-hosting-accounts/ or you have already installed either a Wild Card SSL Certificate or an SSL Certificate that matches your eMail domain address.
To enable SSL on your eMail accounts you will need to logged into your redIT Hosting account which you can do by following the guide at https://faq.redit.co.uk/knowledge-base/logging-into-your-redit-hosting-account/
Once you are logged into your redIT Hosting Control Panel from the left hand menu bar expand the “WWW” section and click on the ‘SSL Certificates‘ item.
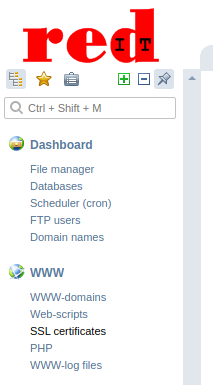
In the main panel you should now see the ‘SSL Certificates’ page which will list any current SSL Certificates, make a note of the ‘SSL Certificate Name‘

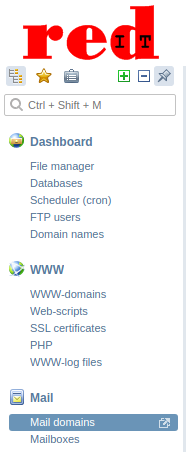
From the left hand menu now select ‘Mail Domains‘
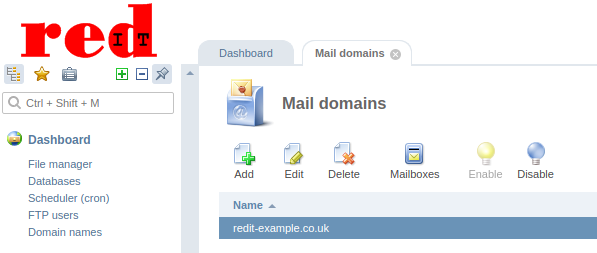
Left click on the domain that you wish to add the SSL Certificate too in the main screen and click on the ‘Edit‘ button from the top bar option.
On the last page ensure that there is a tick in the ‘Secure connection (SSL)‘ box. If there is not already the ‘Alias for certificate‘ and ‘SSL-certificate‘ options will now appear.
The ‘Alias for certificate‘ should be the address that you enter into your eMail client to collect your eMail via which is normally your domain name with ‘mail.‘ infront of it so for our example here it is ‘mail.redit-example.co.uk’
The ‘SSL-certificate‘ option will only allow you to select existing SSL Certificates that are installed or imported into the Shared Hosting Control panel select the SSL Certificate that has the name that you made a note of before.
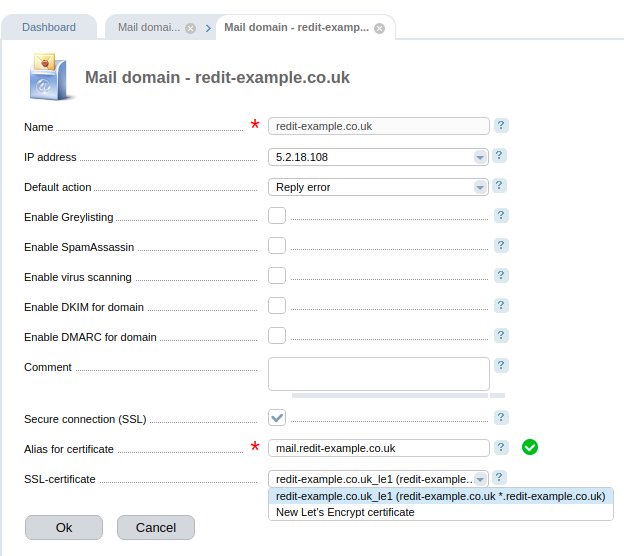
Finally click on the ‘OK’ button, your eMail domain is now enabled with your installed SSL Certificate.