How to add my eMail account into my Outlook Live account
This knowledge base article assumes that you already have a Microsoft Live account with Outlook available to you.
In this guide we have used a Microsoft Windows 10 desktop and Microsoft Edge browser for our screenshots.
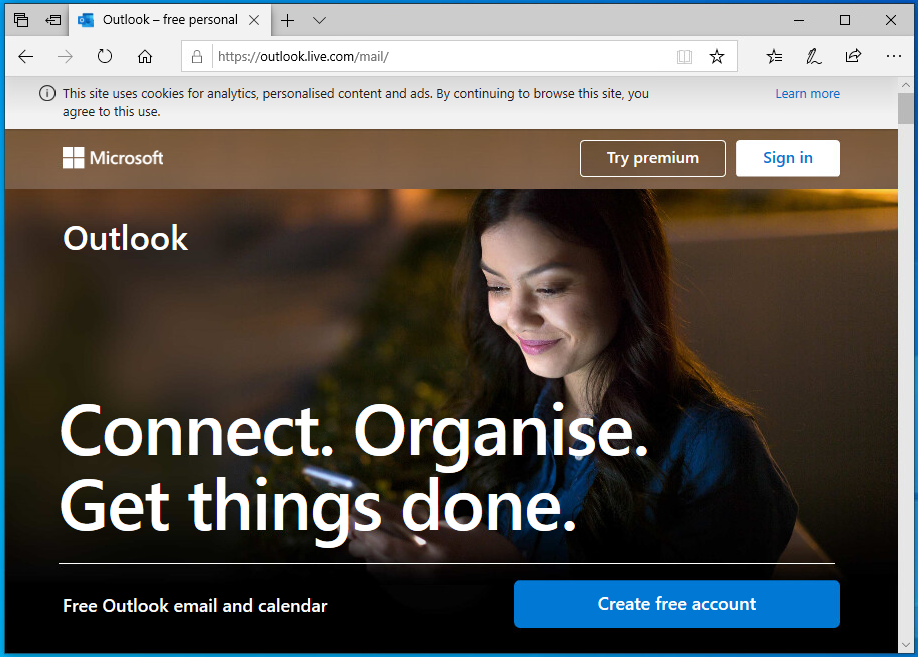
1> Open a Internet browser of your choice and enter the address of https://outlook.live.com/mail/ and if you are not already Signed In click on the ‘Sign In’ button in the top right of the page.
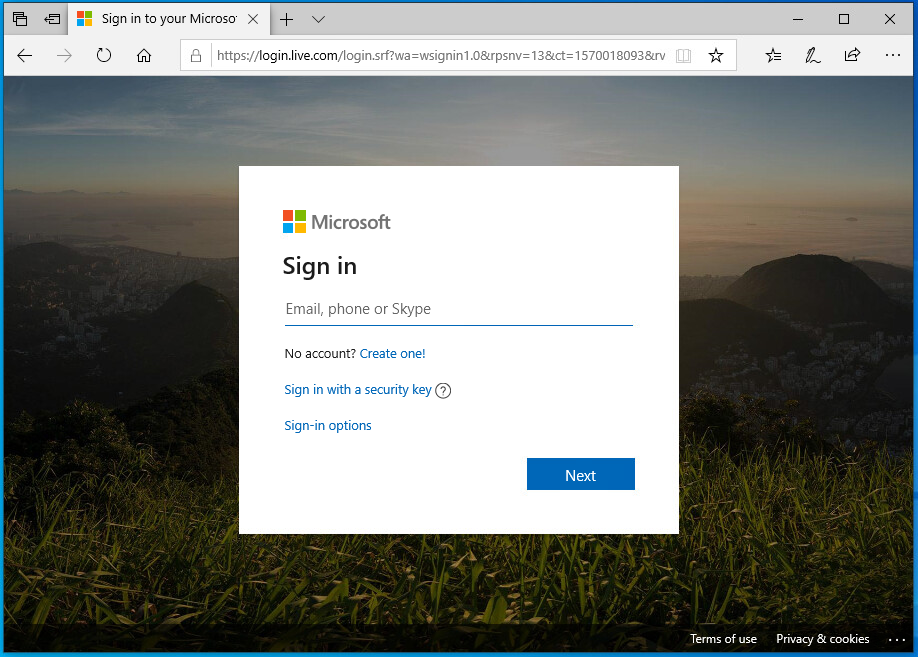
2> On the ‘Sign In’ page enter your details as normal
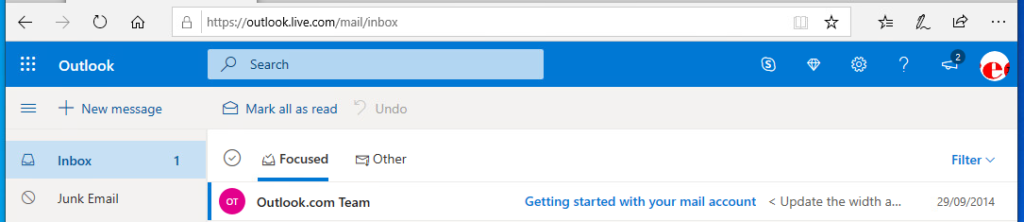
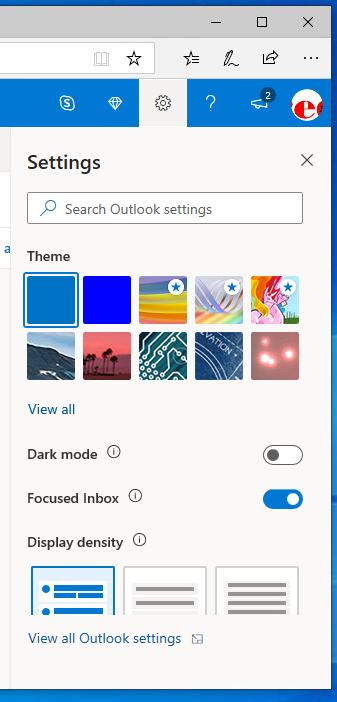
3> Once you are Signed In click on the ‘cog’ icon from the top navigation bar
4> Within the ‘Settings’ menu that has now opened click on the ‘View all Outlook settings’ link at the bottom of the menu
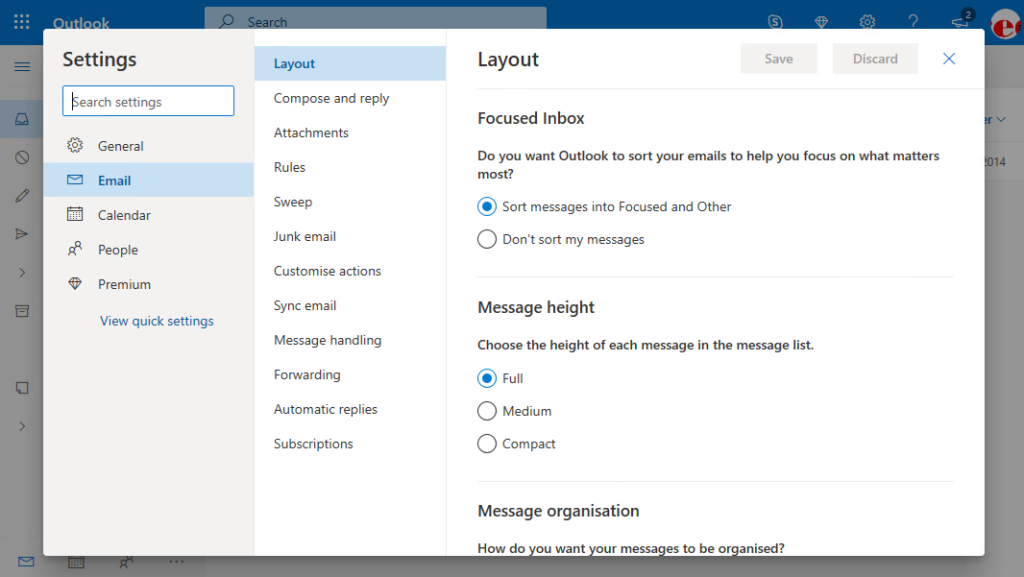
5> This will open the ‘Settings’ dialog box from here make sure that ‘Email’ is selected in the left hand section and then click on the ‘Sync email’ option in the middle menu bar.
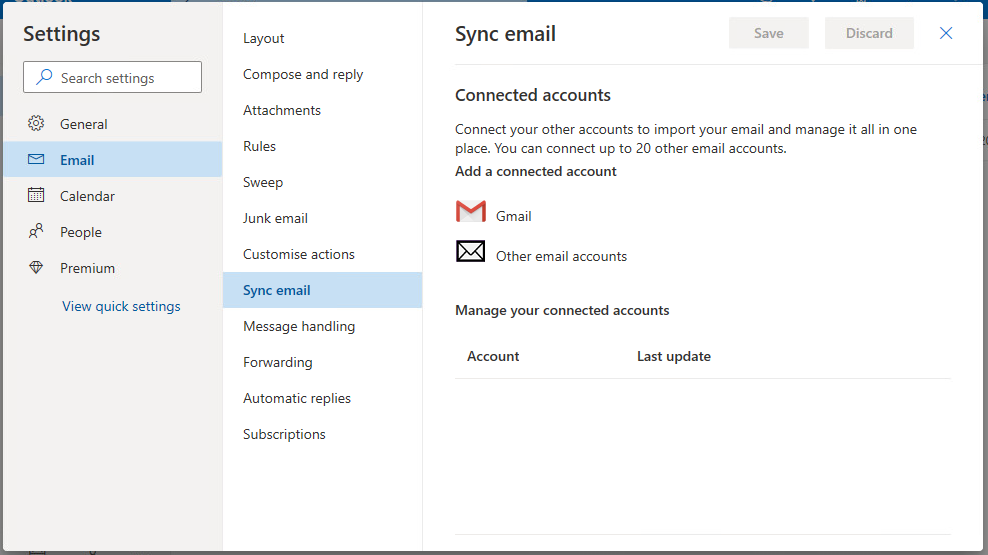
6> Once the right hand section has changed to the ‘Sync email’ screen click on the ‘Other email accounts’ option
7> You will now be show a ‘wizard’ to follow through. Enter the following details in the the first screen:
Display name – This is how you would like people to see your name on the eMails that they receive from you
Email address – This is the full email address that you have set up with us in our control panel
Password – Again this is the password for the email address that you entered and was set by you when creating the eMail account
If you do not wish for the eMails to be ‘mixed’ in with your main
Inbox you should leave the option ‘Create a new folder for imported
email, with subfolders like the account you’re connecting’ selected
otherwise change it to the ‘Import into existing folders’ option.
Finally tick the ‘Manually configure account settings (POP, IMAP or send-only account) option.
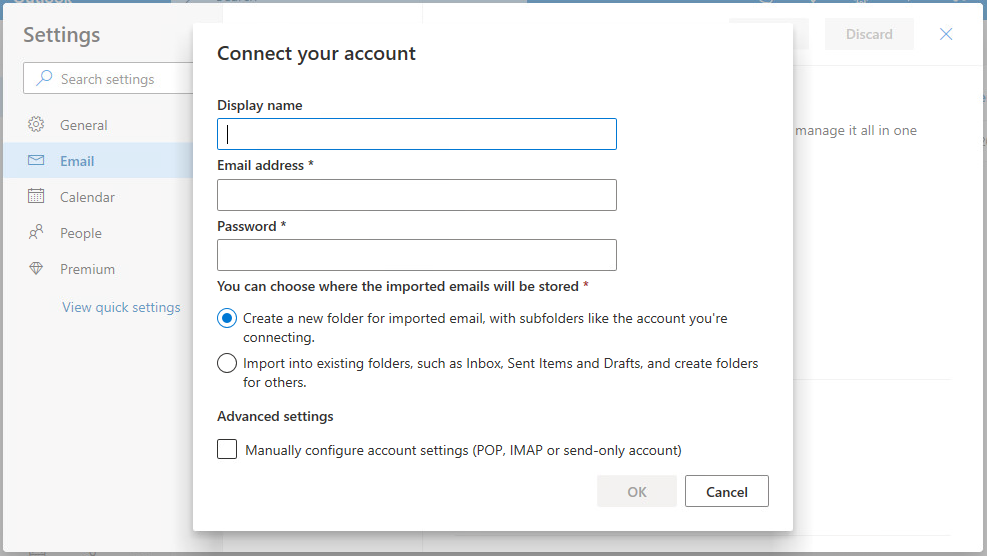
Your entered details should now look something like this just with your details:
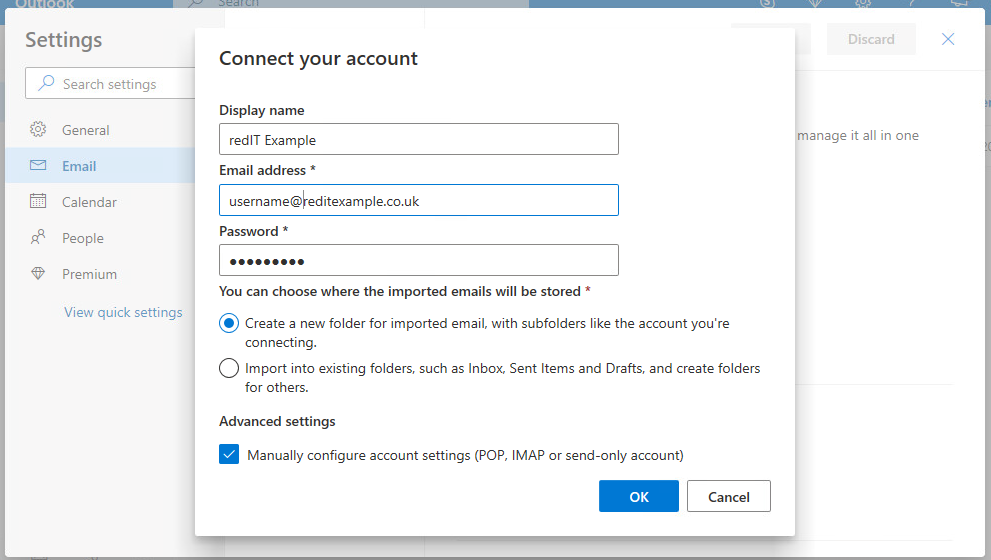
Click on the ‘OK’ button’
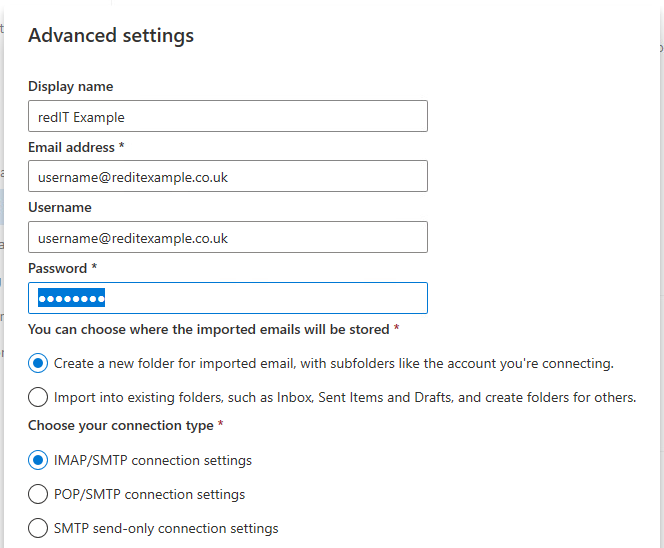
8> As the next screen is so large we have split it into two
sections. In the top part some of your entered details will be copied
over for you but you should ensure that the ‘Username’ is your full
eMail address
We recommend selecting IMAP/SMTP connection settings as this will leave a copy of the eMail on our server meaning that you can also use a desktop client or other mail client and your eMail Inbox will keep the same folder structure.
9> In the bottom of the page you will need to enter your mail server details as follows:
The word ‘mail’ followed by a full stop ‘.’ followed by your domain
name (everything after the @ symbol in your eMail address)
‘reditexample.co.uk’
The server port will be 993 if you have enabled SSL on your eMail
account or 25 if you have not (both will work but you will get an error
message if you select SSL and do not have a valid SSL Certificate)
The ‘Authentication’ option is always ‘Basic’
‘Encryption’ should be ‘SSL’ if you entered port 993 or ‘None’ if you entered 25 for the port number
Ensure that the ‘Send email using your provider’s servers’ is selected
In the ‘Outgoing (SMTP) server’ box enter the same address that you entered of the ‘Incoming (IMAP) server’
If above you selected SSL for the Encryption you should enter 587 for the port number or 143 if you selected ‘None’
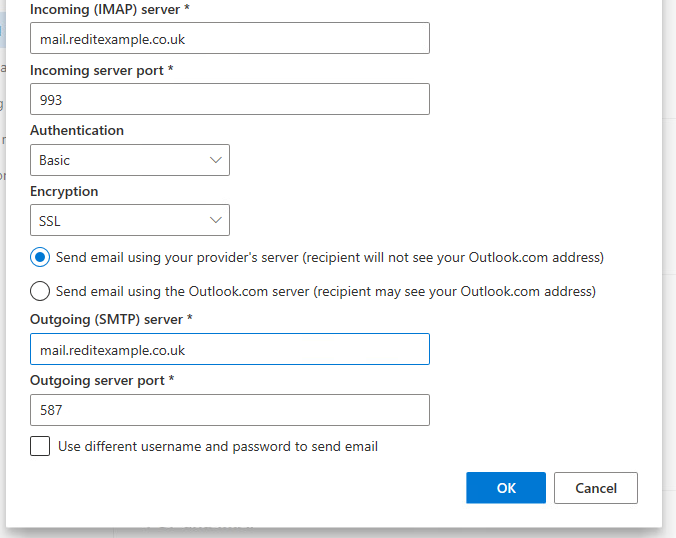
Now click on ‘OK’. It may take a few seconds for Outlook to complete the connection to your eMail account.
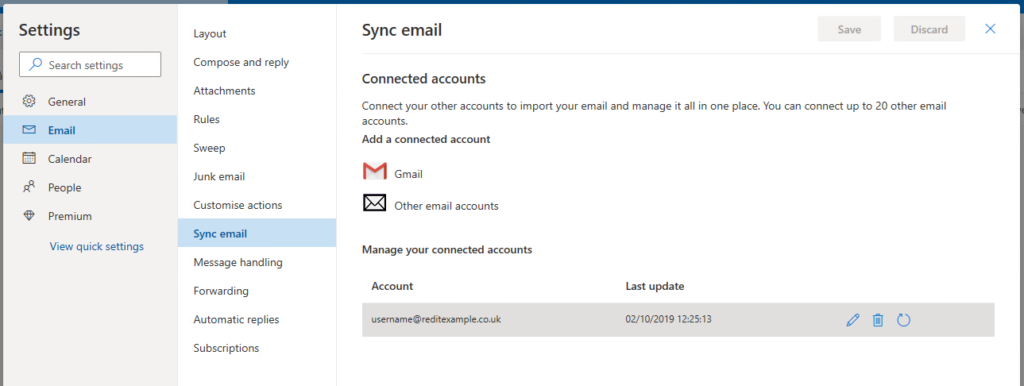
10> Once Outlook has finished setting up your eMail account you will be returned to the ‘Sync email’ Settings page. You should be able to see your eMail account listed under the ‘Manage your connected accounts’ section. Click on the ‘refresh’ icon on your account and then close the screen.
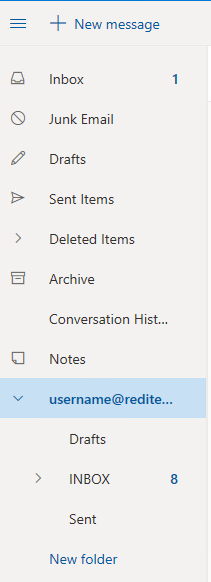
11> Back on the main Outlook page you should now be able to see your added eMail address at the bottom of the list
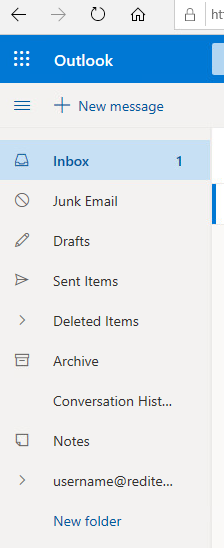
12> If you click on the ‘arrow’ of this item you will open the list to view of your folders you can then click on the ‘Inbox’ to read your eMail as normal.