How Can We Help?
How to change your Domain DNS settings in WordPress.com to use the redIT Servers
If you have a domain name registered with WordPress.com because you used to have your website hosted with WordPress.com and are now moving to a WordPress.org site you will need to update your Domain DNS records within the WordPress.com system to use the redIT servers.
NOTE: If you are planning to migrate your domain to redIT we would still recommend that you update your DNS settings with WordPress.com first to allow for a seamless migration.
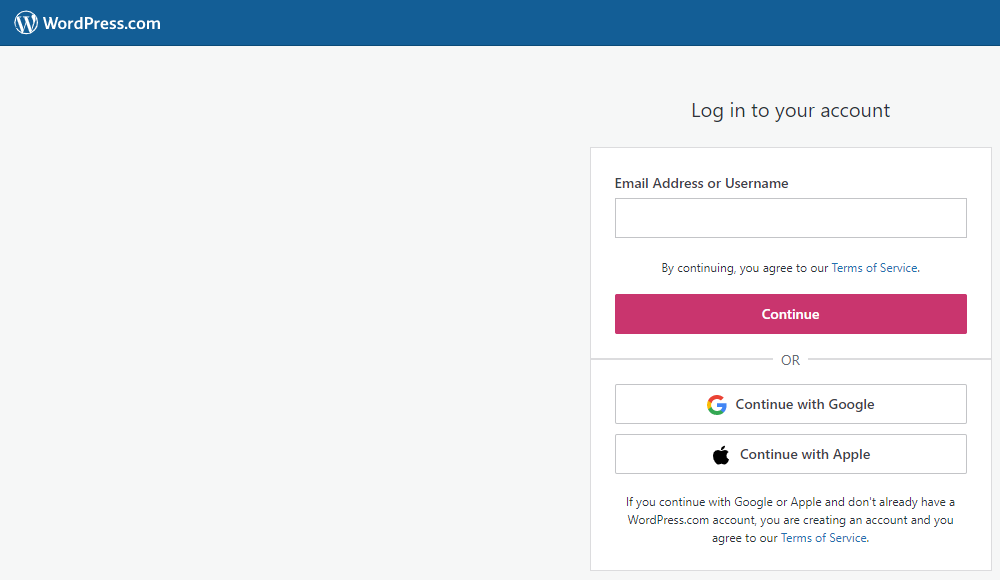
The first step in changing the DNS settings for your domain hosted with WordPress.com is to access your WordPress.com account at https://www.wordpress.com/log-in
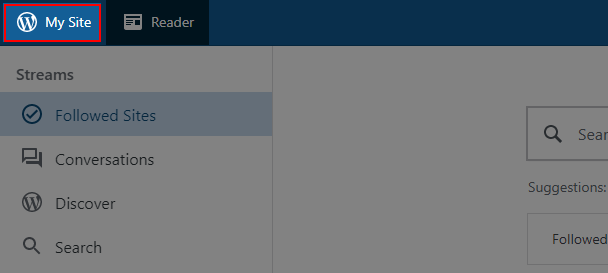
Once you are logged into your WordPress.com account click on the ‘My Site’ button in the top left corner of the dashboard page.
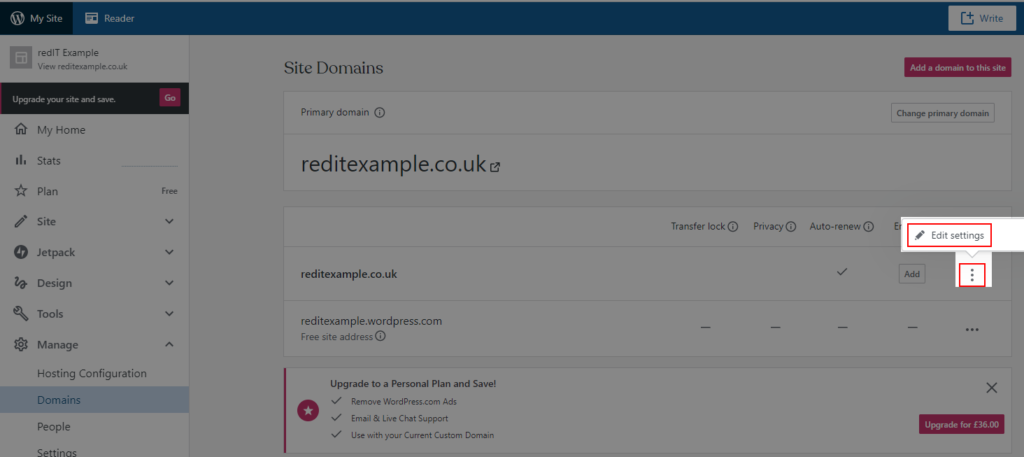
Once the ‘My Site’ menu has loaded click on the ‘Manage’ menu heading and then on the ‘Domains’ menu item.

From within the ‘Site Domains’ page, you should be able to find the domain name for your website that you are looking to update the DNS settings for. At the right of the domain row are three dots click on this and from the menu that opens click on ‘Edit Settings’.
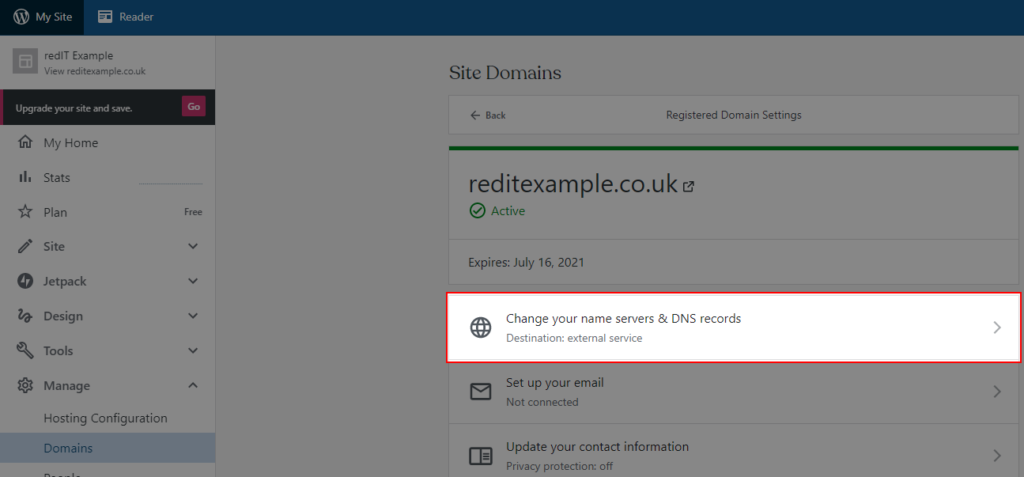
You should now click on the ‘Change your name servers & DNS records’ button from within the middle of the page.
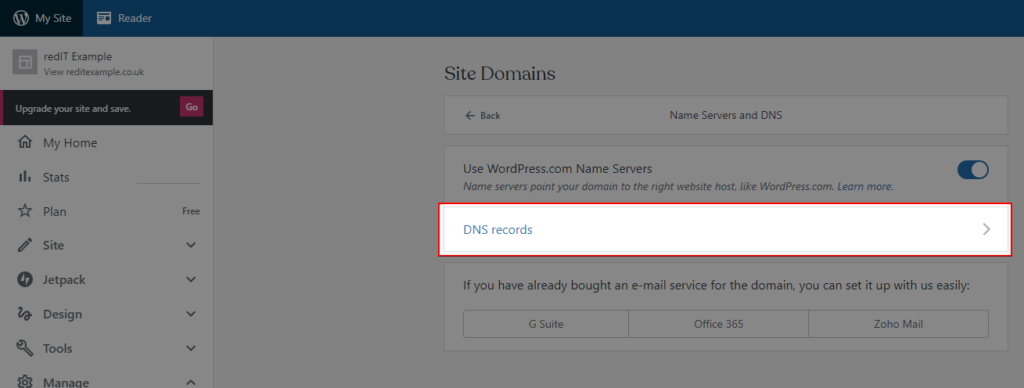
At this stage we are only looking to update the DNS Records for your website so that your WordPress.org version now loads for your visitors. So on the next screen click on the ‘DNS Records’ option.
On the ‘DNS Records’ page, you will need for find any records that are either of the type ‘A’ or ‘CNAME’ that can be deleted.
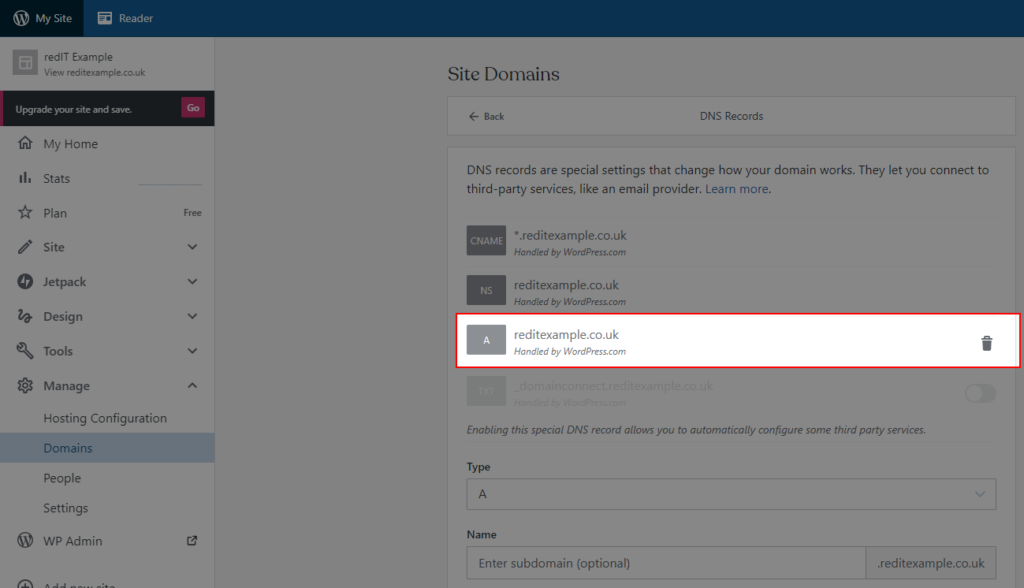
This is done by clicking on the ‘Bin’ icon at the end of the record that you wish to remove.
You will now need to add the new DNS Records into the bottom section of the page to replace the records that have just been removed.
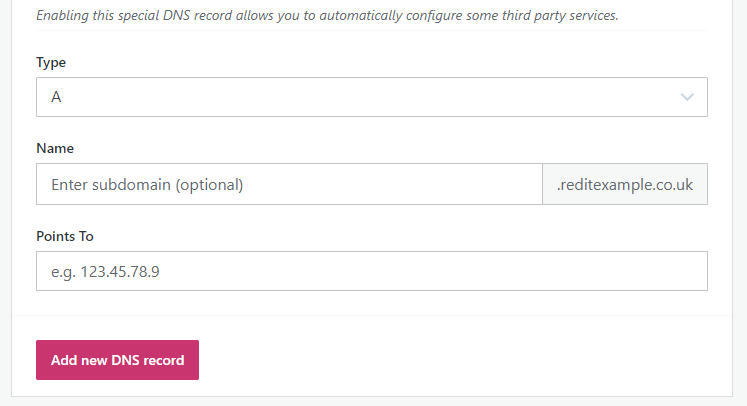
The rules that you will need to add are:
| Type | Name | Points To |
| A | @ | The IPv4 Address of your redIT Shared Hosting Web Server |
| A | www | The IPv4 Address of your redIT Shared Hosting Web Server |
| AAAA | @ | The IPv6 Address of your redIT Shared Hosting Web Server |
| AAAA | www | The IPv6 Address of your redIT Shared Hosting Web Server |
To get the IPv4 and IPv6 addresses you will need to log into the redIT Shared Hosting portal (FAQ Link) and from the left hand menu under the ‘WWW’ menu item click on ‘WWW-domains’
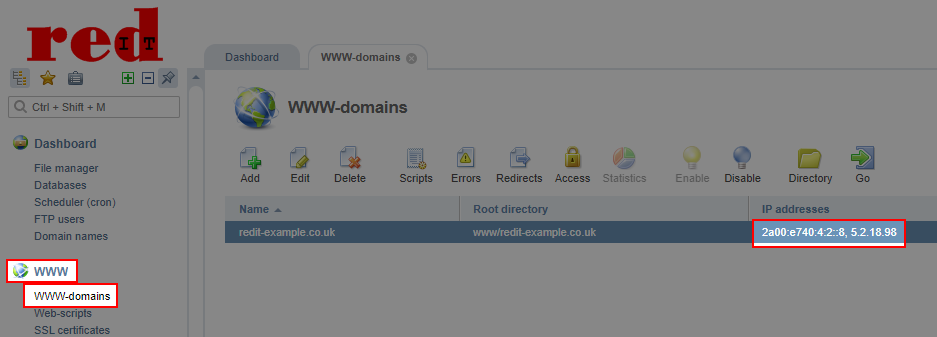
The IPv4 and IPv6 (if enabled) are split by a ‘,’ and the IPv4 address will be all numbers whereas the IPv6 address will be a mix of numbers and lower case letters.
Once you have made these changes to your records via the WordPress.com system you will need to wait for them to be updated globally. You can check these changes via the following site:


