How to enable Lets Encrypt SSL Certificates on redIT Shared Hosting accounts.
All of our redIT Shared Web Hosting accounts have the ability to enable SSL Certificates.
If you wish to use the Free Lets Encrypt SSL Certificates this guide will show you how to enable and obtain a new Lets Encrypt SSL Certificate, which will then be automatically renewed for you by the our hosting platform for you.
This guide also assumes that you are hosting your Domain Name DNS Service with us.
To request and issue a Lets Encrypt SSL Certificate for your Shared Hosting Domain with us at redIT you will need to be logged into your redIT Hosting account which you can do by following the guide at https://faq.redit.co.uk/knowledge-base/logging-into-your-redit-hosting-account/
If you have a Certificate Authority Authorization record in your DNS Zone file you will also need to ensure that you update the record to either include the Lets Encrypt Certificate or replace your existing records. More details on this can be found in our article on CAA at https://faq.redit.co.uk/knowledge-base/how-to-add-a-certificate-authority-authorization-caa-dns-record/
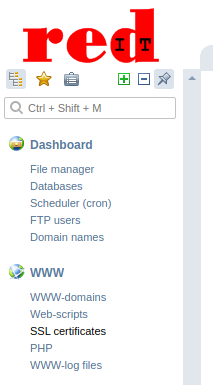
Once you are logged into your redIT Hosting Control Panel from the left hand menu bar expand the “WWW” section and click on the ‘SSL Certificates‘ item.
In the main panel you should now see the ‘SSL Certificates’ page which will list any current SSL Certificates
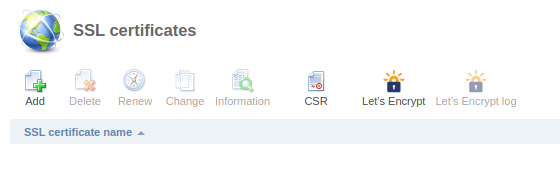
To add a new Lets Encrypt SSL Certificate click on the ‘Lets Encrypt’ icon from the top bar. This will then take you to the SSL Certificate creation wizard.
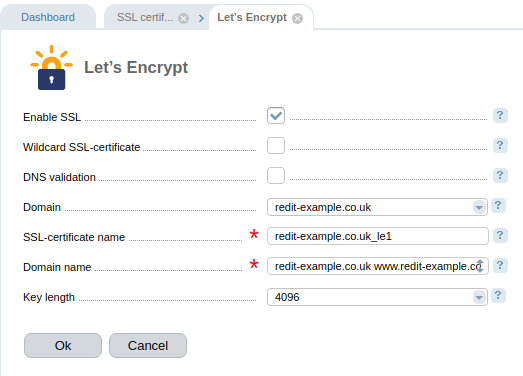
We recommend that you click on ‘Wildcard SSL-Certificate‘ as this will then allow you to use the one single SSL Certificate for both your website and your eMail service. This will change the displayed wizard to the following.
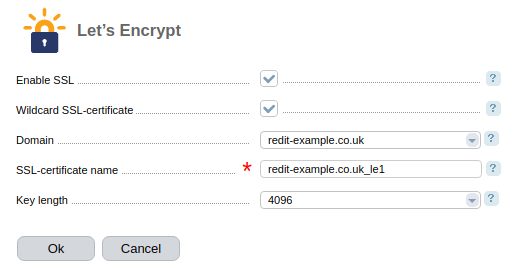
If you have more than one domain in your account you can select the domain that you are requesting the certificate for under the ‘Domain’ drop down option.
You can also change the Key length but 4096 is the recommended key length.
You can now click on the ‘OK‘ button to continue with the request.
You will now be returned to the ‘SSL Certificates’ page where you will be able to see the status of your SSL Certificate request.

The control panel will automatically do all the work for you if your Domain Name DNS zone file is also hosted with us at redIT and depending on the work load of the Lets Encrypt system you should soon see that your SSL Certificate is issued.

You should now ensure that your SSL Certificate is in use for your web site and mail service. From the left hand menu under the ‘WWW‘ menu select ‘WWW-domains‘ and then on the main panel click on the domain name that you just requested the SSL Certificate for:
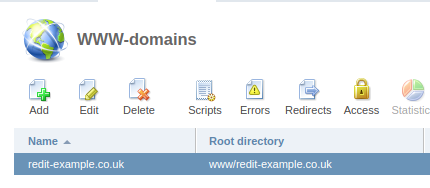
Now click on the ‘Edit‘ button from the top options.
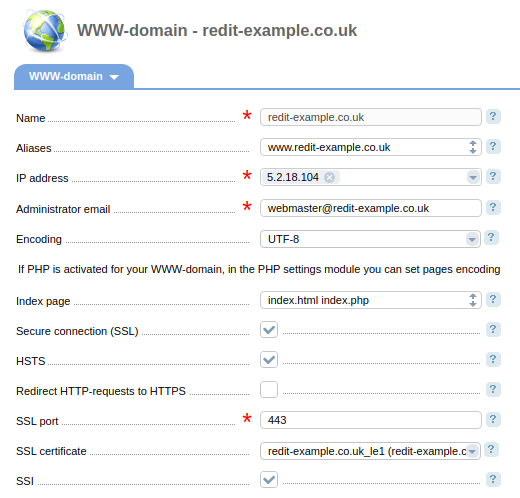
You should see that there is a tick mark in ‘Secure connection (SSL)‘ and that the ‘SSL certificate‘ matches the name of the SSL Certificate that was issued before, if this is not the case click on the check box and select the SSL Certificate from the drop down options list and click on the ‘OK’ button.