
How Can We Help?
Outlook eMail Account Setup


Microsoft Outlook is a popular eMail client and is included in the Microsoft 365 package (excluding the Office Home and Student version).
This guide assumes the following:
You already have your domain name and eMail account setup, in this guide we are using the domain name of reditexample.co.uk and the eMail account of usernamel@domainname.co.uk
Your DNS records are setup and our Mail Services are set to mail.reditexample.co.uk
You have downloaded and installed Microsoft Outlook on your computer.
Step 1:
If you have a fresh install of Microsoft Outlook once you start the programme you will be show the first step in the Microsoft Outlook setup wizard.
If you are using an already setup copy of Microsoft Outlook, you can get to the setup Wizard by clicking on ‘File’ then the ‘+ Add Account’ button.
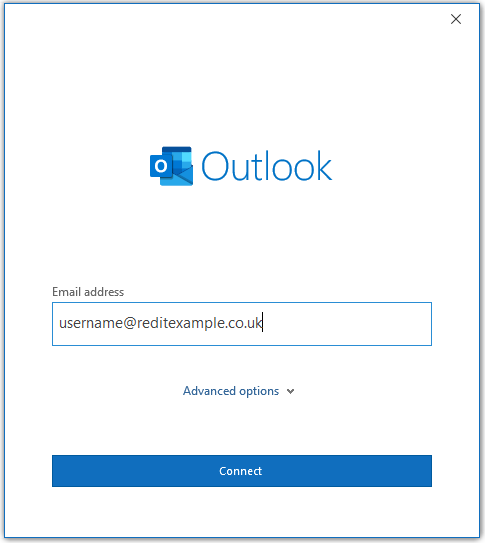
Ensure that the full eMail address in the ‘Email address’ box is the same as the account that you are trying to setup and click on the ‘Connect’ button.
Step 2:
You will now be asked which type of eMail service your are trying to setup. With the redIT eMail Service you can use either IMAP or POP3 the difference between the two is:
- POP3 downloads and keeps each eMail that you have received in your eMail client on the computer that you read it on. This means that you can only read the eMail on one computer.
- IMAP uses server side storage. This means that you can download and read a copy of the same eMail on multiple computers, like wise if you create a folder to keep family eMails in this same folder and can be seen in your webmail account and on the other computers.
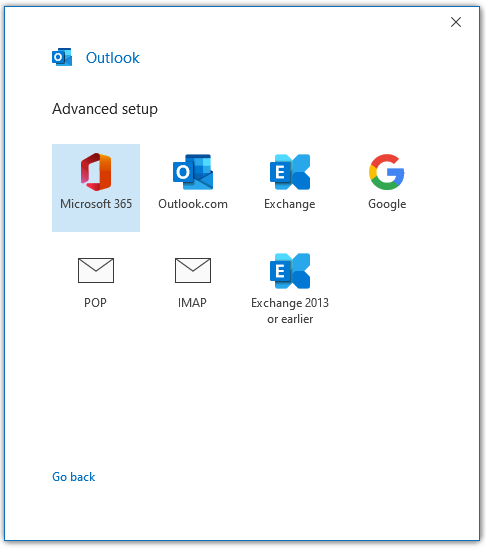
Just left click on the service type that you wish to use and you will be moved onto the next step.
Step 3:
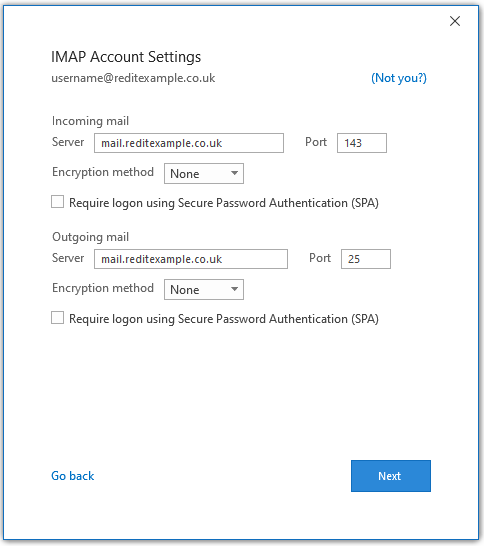
If the wizard has not automatically detected your Server settings these should be set to the following:
Server – mail.reditexample.co.uk (change this for your eMail server address)
If you have selected to use IMAP as your eMail protocol the ‘Incoming:’ port information should be either ‘143’ for an unencrypted connection and the Encryption method should be left at ‘None’.
If you wish to use an encrypted connection and have already enabled it on your eMail domain you should set the port to ‘993’ and the Encryption method to ‘SSL/TLS’
The ‘Outgoing:’ SMTP port can be either ’25’ for an unencrypted connection where you leave the Encryption Method as ‘None’ or set to port ‘587’ and the Encryption method set to ‘STARTTLS’ if you wish to use encryption.
Once you have checked these settings click on the ‘Next’ button.
Step 4:
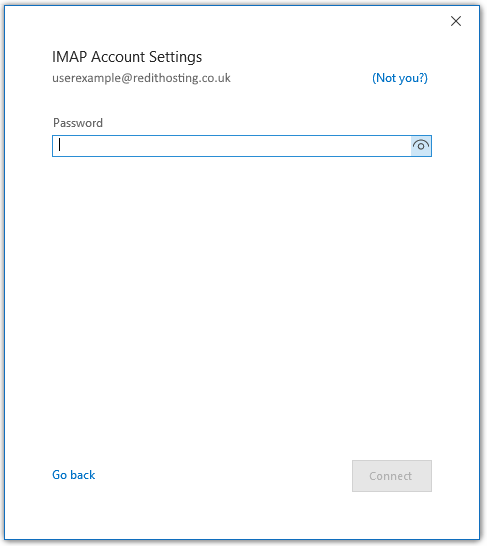
Enter the password of your eMail account as setup within the Hosting Control panel and click on the ‘Connect’ button.
Step 5:
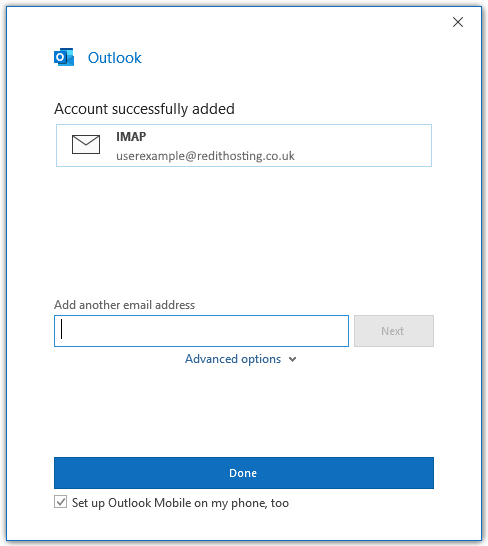
If all the details entered were correct then you will see the above screen, this confirms that your account has been setup in Microsoft Outlook and is ready to use. To continue click on the ‘Done’ button.