How to add my eMail account into my Gmail account.
This guide will allow you to add your redIT eMail account into your Google Mail account. Which will then allow you to read all of your eMails using one application across your desktop and smart devices.
This guide assumes that you already have a Google Mail account setup and are logged into your Gmail account via a Desktop web browser.
Step 1.
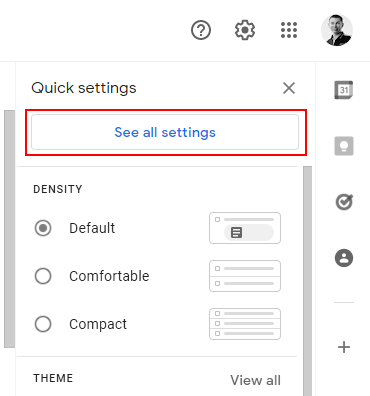
In the top right corner of your Gmail page you should be able to see a ‘cog’ icon, left click on this icon to open the side menu bar.

Step 2
From the ‘Quick settings’ side menu that has now opened left click on the ‘See all settings’ button.
Step 3
You should now see the ‘Settings’ page for your Gmail account, you will now need to left click on the ‘Accounts and Import’ menu item.

Step 4
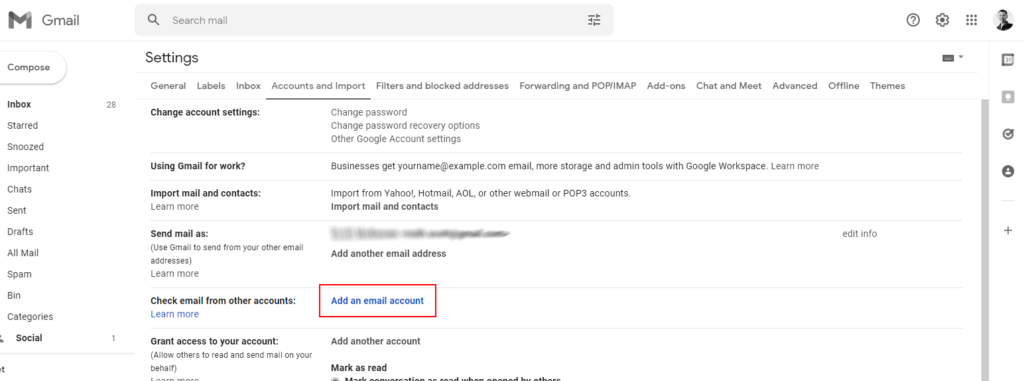
On the ‘Accounts and Import’ tab you should locate the ‘Check email from other accounts:’ option which is about half way down the page. Left click on the ‘Add an email account’ option.
Step 5
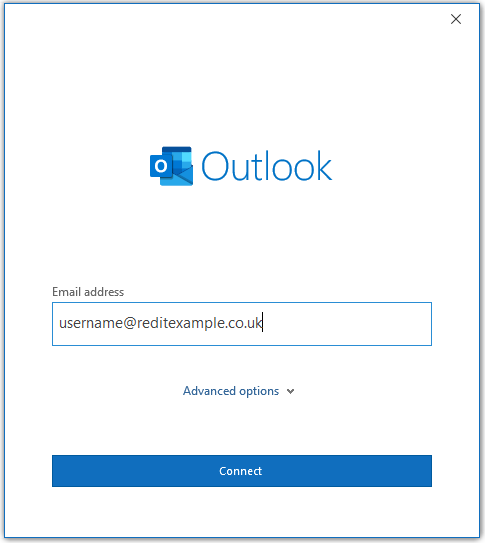
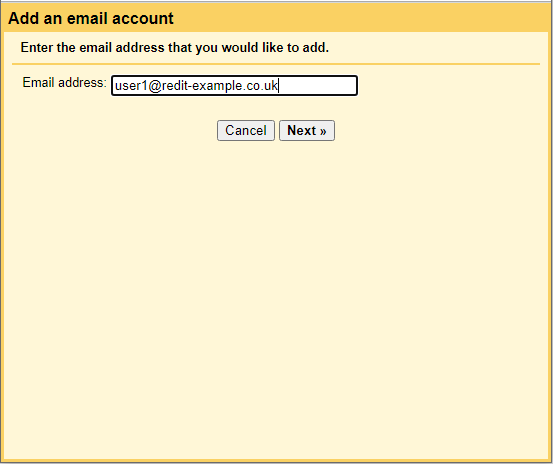
A new ‘Pop Up’ window should open as shown below. Enter the full eMail address that you wish to import eMails from into your Gmail account and then left click on the ‘Next>>’ button.
Step 6
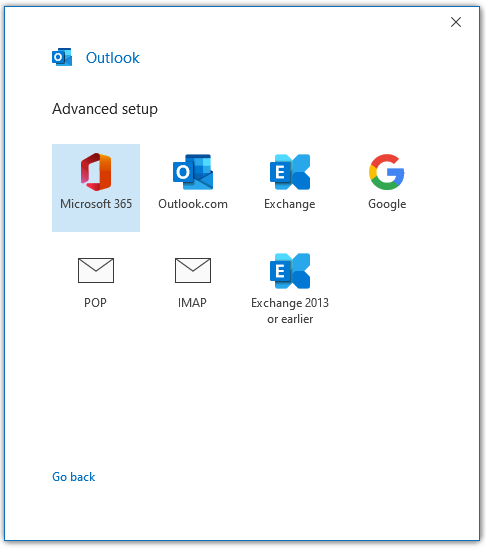
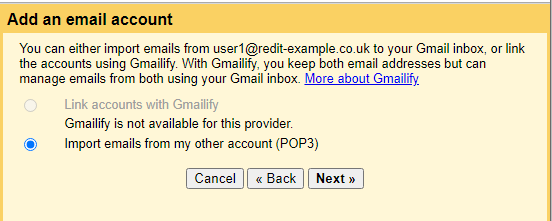
You will only be able to select the ‘Import emails from my other account (POP3) option on the next screen so just left click on the ‘Next>>’ button.
Step 7
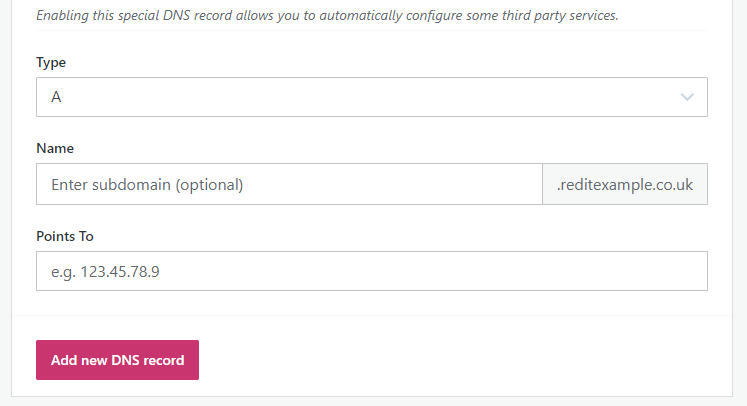
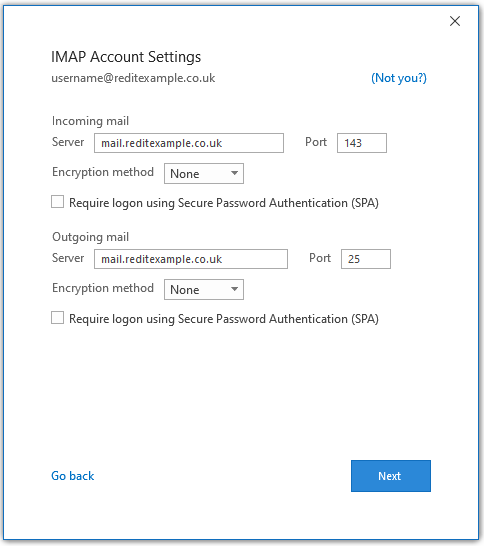
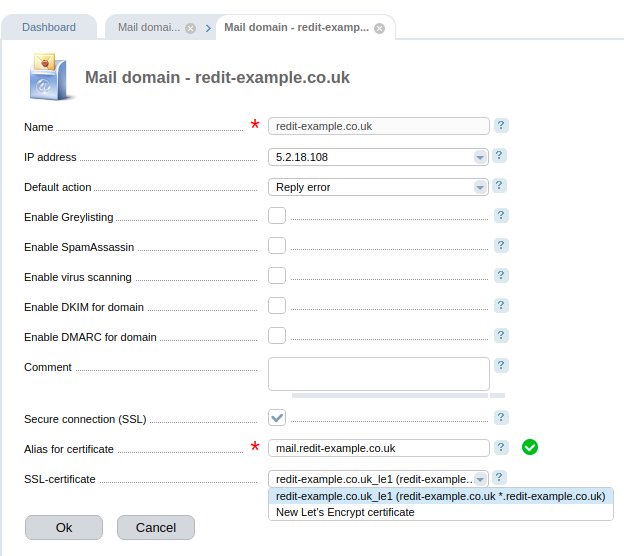
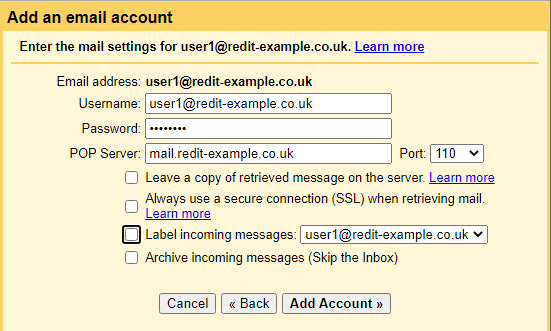
The next screen asks you for your eMail account server settings, with redIT this are as follows:
Username – your full eMail address
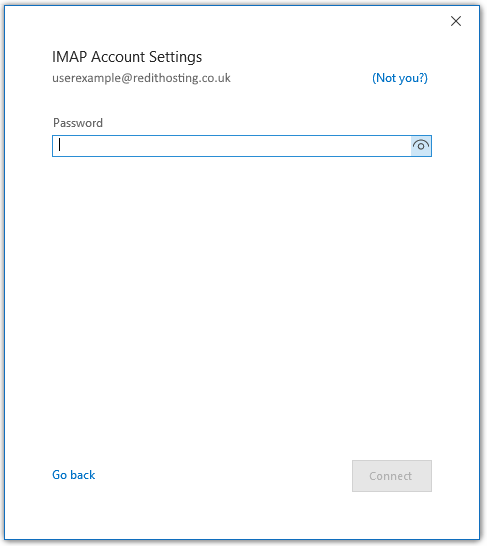
Password – the password that you entered when you created the eMail account
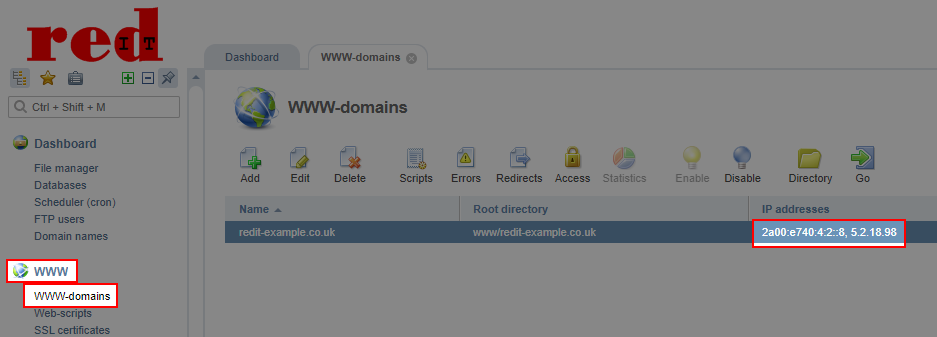
POP Server – normally ‘mail.’ followed by your Domain Name
Port – If you do not have an SSL Certificate set up for you eMail Domain this will be 110, otherwise it will be 995
The ‘Leave a copy of retrieved message on the server’ option is depending on you, if you are only going to be checking your eMail via your Gmail account then you can leave this unticked. However, if you are also going to be using another client to check this same eMail account then you should tick this box.
If you have an SSL Certificate installed on your mail domain then you should tick the ‘Always use a secure connection (SSL) when retrieving mail.’ option.
When a new eMail arrives in your Gmail account from this new account that you are adding you can add a label to it as it is received in your Inbox, this makes it easier to see what eMails have come from this address.
Archive incoming messages (Skip the Inbox) means that you will still receive the new eMails from this address but will not see them directly in your Gmail Inbox unless you search for them.
Finally left click on the ‘Add Account’ button.
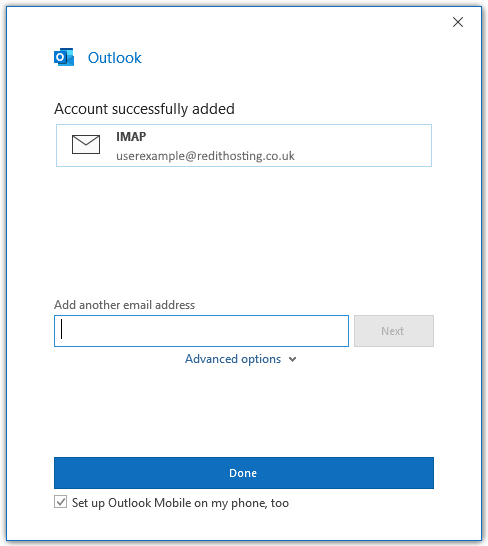
Step 8
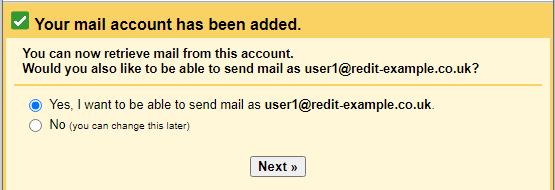
The adding of your eMail address into your Gmail account is now completed for receiving eMails on this eMail address. However, you also have the option of sending eMails from this address via your Gmail account.
If you do not want to be able to send eMails out via this address then select the ‘No‘ option and then left click on the ‘Next>>’ button to finish the setup. You can change this later if you wish via the Gmail settings screen.
However, if you wish to send eMails out using this eMail address left click on the ‘Next>>’ button to continue.
Step 9
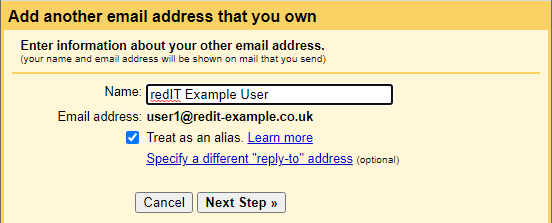
For the Name of the account this is how you will be shown in the Inbox of the person that you send the eMails too, so if you are an individual this could be your name ‘redIT Example User’ for example. Or if it is your sales account you could have it as ‘redIT Sales Team’. You can also change this later via the Gmail account settings if you wish to. Once you have named your Account left click on the ‘Next Step>>’ button.
Step 10
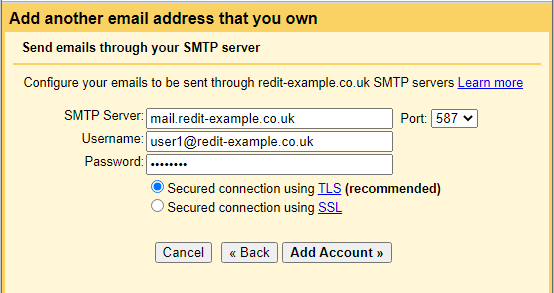
Here you are asked for your Outgoing eMail server details. These are normally the same as your incoming server details
SMTP Server – normally ‘mail.’ followed by your Domain Name
Port – If you do not have an SSL Certificate set up for you eMail Domain this will be 25, otherwise it will be 587
Username – your full eMail address
Password – the password that you entered when you created the eMail account
If you do not have an SSL Certificate set up on your eMail domain the two next options will be disabled and you will not be able to select either of them. However, you should be able to use either of the options.
Now left click on the ‘Add Account >>’ button.
Step 11
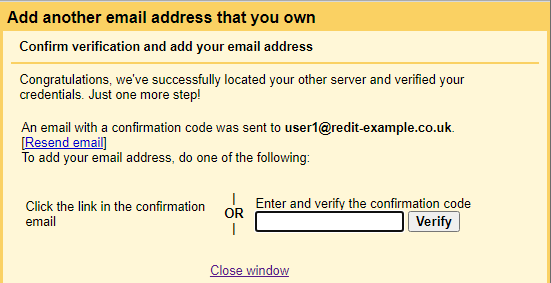
You should now shortly receive an eMail to your newly added account to confirm that you would like to allow Gmail to send eMails from this address. Either click on the link inside this eMail or enter the code in the box shown on the screen.
You can close this window at any stage but we advise you wait for the confirmation email to arrive first.